
Σε αυτό το Άρθρο
- Understanding the Critical Attributes
- Don’t Just Know the Steps — Understand the Sequence
- Practise Before You Get Wet
- Take Your Demonstration Into the Water
- Slow Down and Σεπarate the Steps
- Think About What Your Student Can See
- Develop Your Own Motor Skills
- Prepare Your Assistant
- How I Would Prepare for an Important Demonstration
- Don’t Stop Practising After the IDC
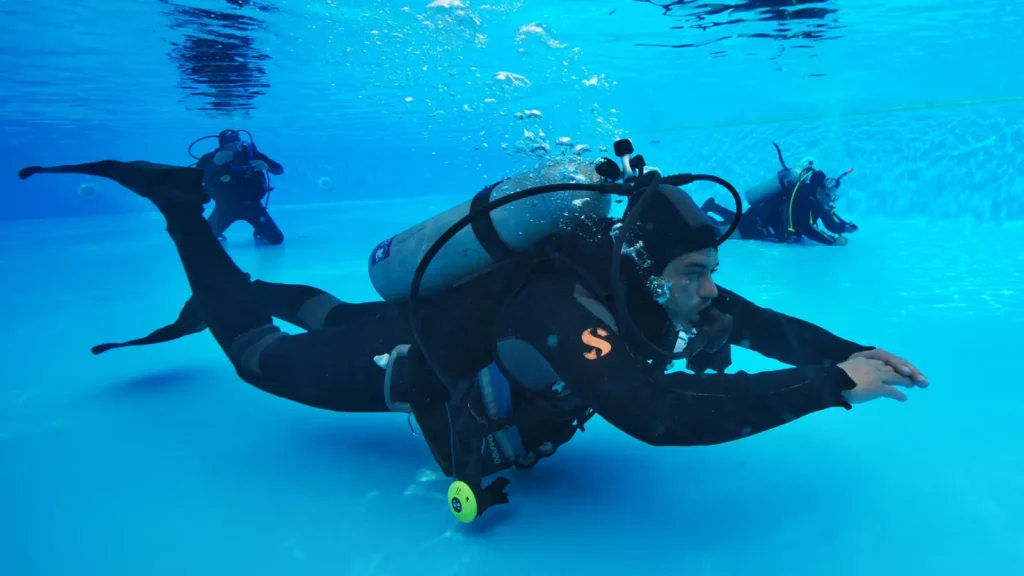
When I work with Instructor candidates, one of the things I always emphasise is the importance of the skill demonstration.
A skill demonstration is one of the key elements of teaching scuba diving. In many ways, it is also one of the things that defines you as an instructor.
Your students will learn a great deal by watching you. Before they attempt a skill themselves, they need to have a clear picture of what successful performance looks like.
So, when preparing a demonstration, I recommend starting with one simple question:
How will my student benefit from watching me do this?
That question should guide almost everything you do.
Understanding the Critical Attributes
Before worrying about how you are going to demonstrate a skill, make sure you understand exactly what needs to be demonstrated.
The critical attributes are the essential elements of a skill that must be present for the performance to meet the required standard.
Start by breaking the skill down into individual steps. Don’t simply memorise a general sequence. Think carefully about what you are doing at each stage and which elements are essential.
Much of this preparation takes place in your head.
You need to know the critical attributes, remember the steps and understand the performance requirements. If you have to stop underwater and think, “What comes next?”, you are using mental capacity that should be available for teaching.
The good news is that you don’t need to be in the water to work on this.
I often recommend that candidates practise the sequence mentally first. Go through the skill step by step. Visualise yourself performing it. Think about what the student needs to see and how you are going to present it.
Don’t Just Know the Steps — Understand the Sequence
Once you understand the individual steps, think about how they fit together.
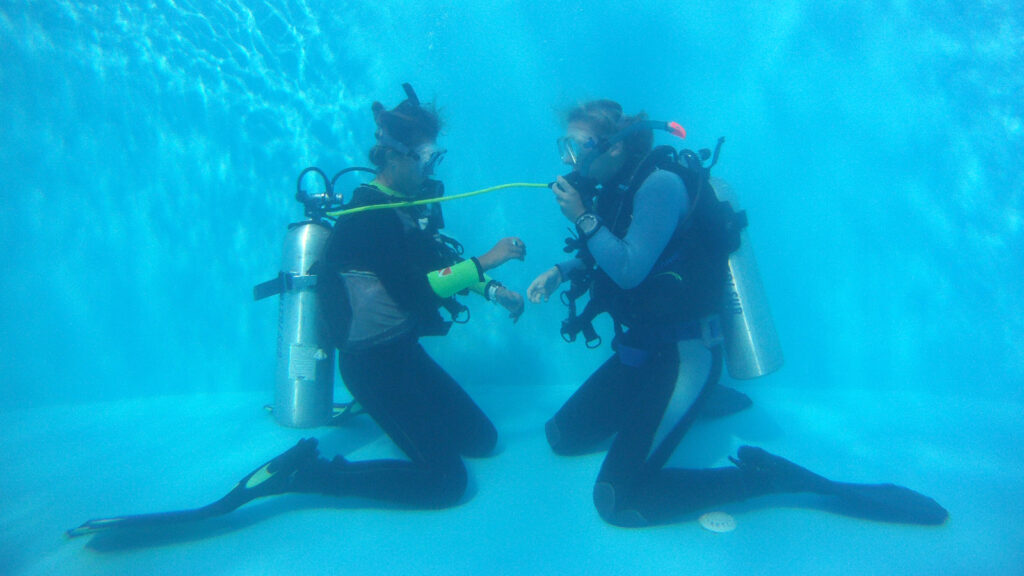
Some skills have an obvious sequence. Mask clearing is a good example. Other skills are less straightforward. Removing a scuba set underwater, for instance, involves several movements, and there may be different ways to achieve the required performance.
This is something I want Instructor candidates to understand: there may be different ways to perform a skill, but the critical attributes remain the same.
You can choose a method that works well for you and suits the environment in which you are teaching. What matters is that your chosen method allows you to demonstrate all the required elements clearly.
Don’t become obsessed with memorising one particular sequence simply because someone else demonstrated the skill that way.
Understand why each step is necessary, know the critical attributes, and choose a logical method that you can demonstrate confidently.
Practise Before You Get Wet
One of the biggest mistakes I see candidates make is assuming that skill demonstration practice only happens in the swimming pool or open water.
It doesn’t.
A significant part of preparing a demonstration can—and should—be done on land.
Try dry-practising the skill. Work with your teaching assistant. Stand in front of a mirror, or record yourself using your phone or camera.
You might be surprised by what you discover.
Something that feels completely obvious when you perform it may not look obvious at all when you watch yourself. You might turn your body away at exactly the wrong moment. You might perform two steps so quickly that they appear to be one movement. Or you might position yourself somewhere the student cannot see what you are doing.
These are much easier problems to identify and correct on land than underwater.
Take Your Demonstration Into the Water
Once you are comfortable with the mental sequence and have practised the physical movements, it’s time to take your demonstration into the water.
At this stage, choose a technique that makes sense for the environment in which you will be teaching.
And, if possible, have someone watch you.
Even better, record the demonstration so you can review it afterwards.
When watching the video, don’t look at it as the instructor. Look at it from the student’s perspective.
Ask yourself:
What would I actually see if I were sitting there watching this instructor?
Changing your perspective in this way can be extremely useful. It helps you identify things you might otherwise overlook when concentrating on your own performance.
Slow Down and Σεπarate the Steps
When practising, resist the temptation to rush through the entire skill as though you are trying to prove that you already know it.
Instead, separate the individual steps.
Show one step.
Pause.
Show the next step.
One technique I personally find useful is to take an inhale and exhale between steps. This creates a natural separation, giving you a moment to prepare for the next movement while encouraging you to slow down.
Remember, you aren’t demonstrating the skill for yourself. You’re demonstrating it for someone who doesn’t know how to do it yet.
What feels painfully slow to you may be exactly the right speed for your student.
Your objective isn’t simply to complete the skill correctly. It’s to make the performance easy to follow and understand.
Think About What Your Student Can See
This is something I encourage candidates to consider throughout their preparation.
While demonstrating, continually think about the student’s perspective.
- Can the students see what you’re doing?
- Does the sequence make sense?
- Can they identify the individual steps?
- Are you showing the important details, or accidentally hiding them?
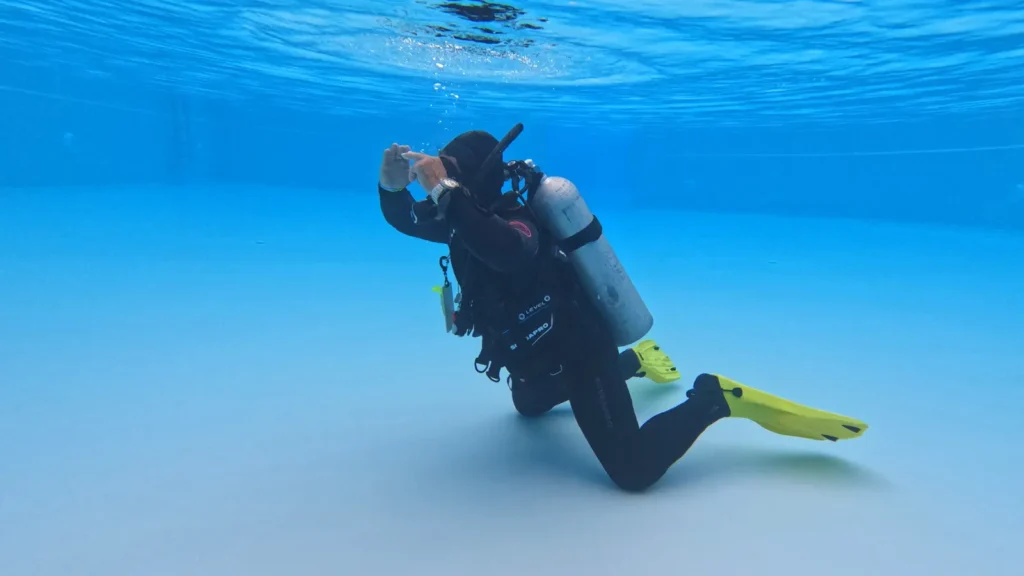
Sometimes, the difference between an average demonstration and a really good one comes down to where the instructor is positioned.
Think about your distance from the students, your angle and the direction in which you are facing.
Some skills require particular attention to positioning. An LPI disconnect, for example, needs to be presented in a way that allows students to see the connection clearly.
With a mobile skill demonstration, make sure the movement starts and finishes where the students can follow it.
Surface skills create another challenge. Remember that students may be observing you from underwater. Something that looks perfectly clear from your perspective may not be visible from theirs.
Before starting a demonstration, take a moment to ask yourself:
Can everyone actually see this?
Develop Your Own Motor Skills
There is another important aspect of demonstration practice that I don’t want candidates to overlook: their own motor skills.
If you struggle to maintain the position required by a technique, control your buoyancy, manage your equipment or perform the necessary movements smoothly, it will be difficult to give your students a clear demonstration.
The better your own skills become, the less you need to concentrate on the mechanics of performing them.
That frees up your attention to focus on the students and how they are experiencing the demonstration.
Occasionally, you may need to exaggerate a movement to make it easier for students to see. That’s perfectly reasonable, provided you make it clear that the exaggerated movement is intended to improve visibility rather than form part of the skill itself.
You don’t want students leaving the demonstration with the wrong idea about what they are expected to do.
Prepare Your Assistant
If you are demonstrating with a certified assistant, take the time to discuss the demonstration with them before getting into the water.
Don’t assume they know exactly what you have in mind.
Make sure they understand the technique you intend to use, the sequence of the skill and their role during the demonstration.
A few minutes of preparation and communication with your assistant can make the actual demonstration much smoother and more effective.
How I Would Prepare for an Important Demonstration
If I were preparing for an important skill demonstration myself, I would approach it in stages.
1. Understand the performance requirements.
I would start by making sure I fully understood the required performance and all the critical attributes.
2. Break the skill down into steps.
I would identify the individual movements and decide on a logical method of demonstrating the skill.
3. Practise on land.
I would mentally rehearse the sequence, physically practise the movements and, if possible, record myself to identify areas for improvement.
4. Move into the water.
Once comfortable with the sequence, I would practise the demonstration in the water, paying attention to buoyancy, positioning and body movement.
5. Slow down and make every step visible.
I would separate the individual steps and ensure that each one could be clearly seen and understood by the students.
6. Review and improve.
I would ask someone to watch the demonstration or record it for later review. I would then assess the performance from the student’s perspective.
Throughout this process, I would keep returning to the same question:
What does this look like to my student?
That question is probably more valuable than simply asking yourself, “Did I perform the skill correctly?”
Of course, you need to perform it correctly. But as an instructor, you also need to make that correct performance visible, clear and understandable to someone who is learning.
Don’t Stop Practising After the IDC
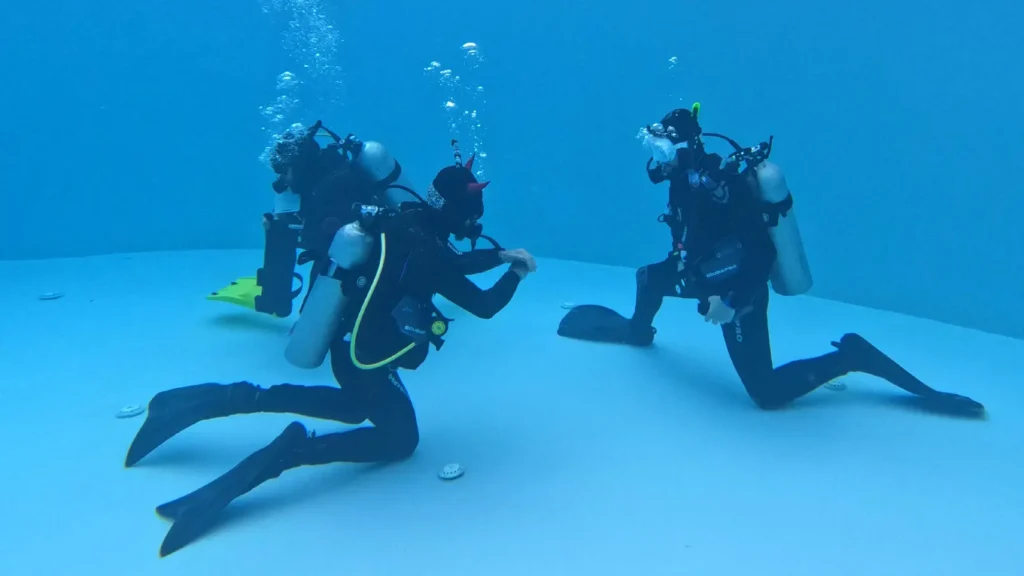
One final piece of advice: don’t think of skill demonstration as something you need to master for your Instructor Development Course (IDC) and then move on from.
Your IDC gives you the foundation, but learning to demonstrate skills effectively doesn’t stop when the IDC ends—or even when you become a certified instructor.
Skill demonstration is an integral part of being an instructor.
Every time you teach, you have another opportunity to improve. You will discover better positions, clearer movements and more effective ways of presenting skills to different students and in different environments.
So keep practising.
Watch other good instructors. Watch yourself. Ask your students what they could see. Record your demonstrations when appropriate. And every now and then, go back to the basics and break a skill down again.
The best demonstrations aren’t necessarily the ones that look the most impressive.
They are the ones that make the student think:
“I understand what I need to do.”
And that, ultimately, is what your demonstration is there for.